Effortless Linux Service Management and Automation on Azure 🛠️
Introduction ⚙️
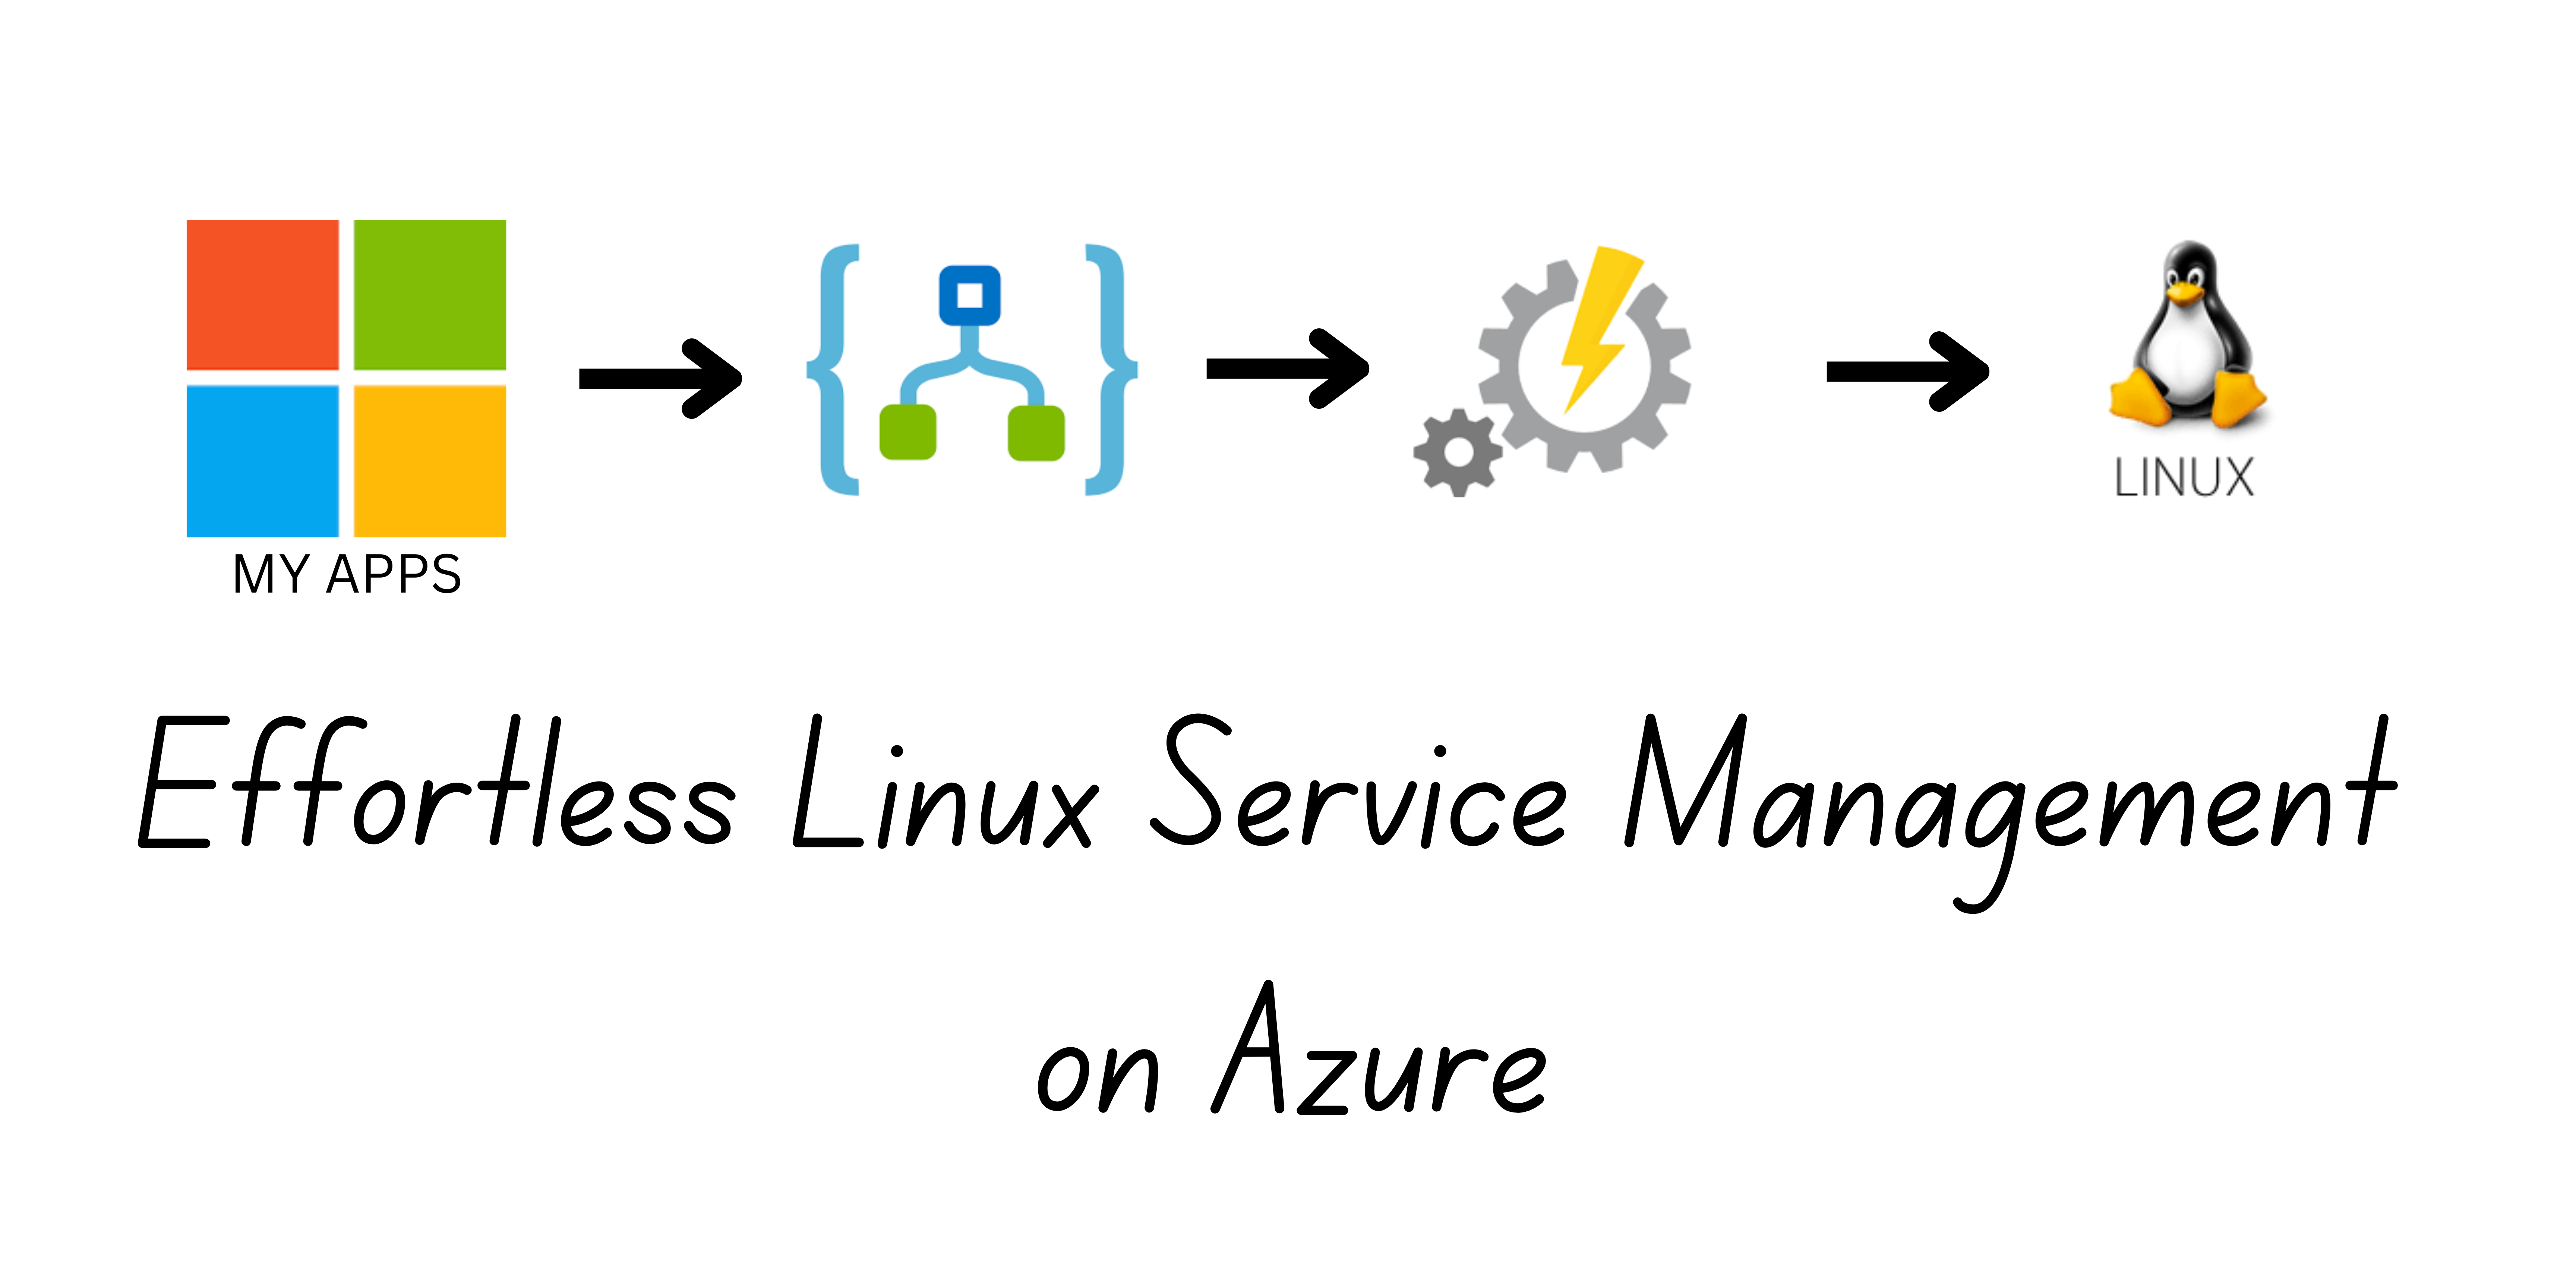
Managing services on Linux VMs in Azure often involves restarting them for maintenance, updates, or troubleshooting. However, repeatedly logging into the VM can be both cumbersome and inefficient. In this blog post, we’ll show you how to streamline this process by restarting a Linux service without ever logging into the VM. We’ll also explore how to set up an easy-access button in your applications for on-demand restarts, making service management simpler and more efficient.
Overview 🗂️
To achive this we need to configure the following resources:
- App Registration & Enterprise App - This setup will create the MyApps button which will trigger the logic app.
- Logic App - The Logic App will act as the bridge between the MyApps button and the runbook execution.
- Automation Account & Runbook - The runbook, which resides in an Automation Account, will execute the script to restart the Linux service.
Lets work our way backwords and start from creating the Automation Account, Logic App and App Registration.
Step 1: Create an Automation Account and Runbook 🔧
We need to create a runbook to execute a script that reboots a Linux service. This is done within an Automation Account.
- Create an Automation Account:
- Navigate to the Azure portal and create a new Automation Account.
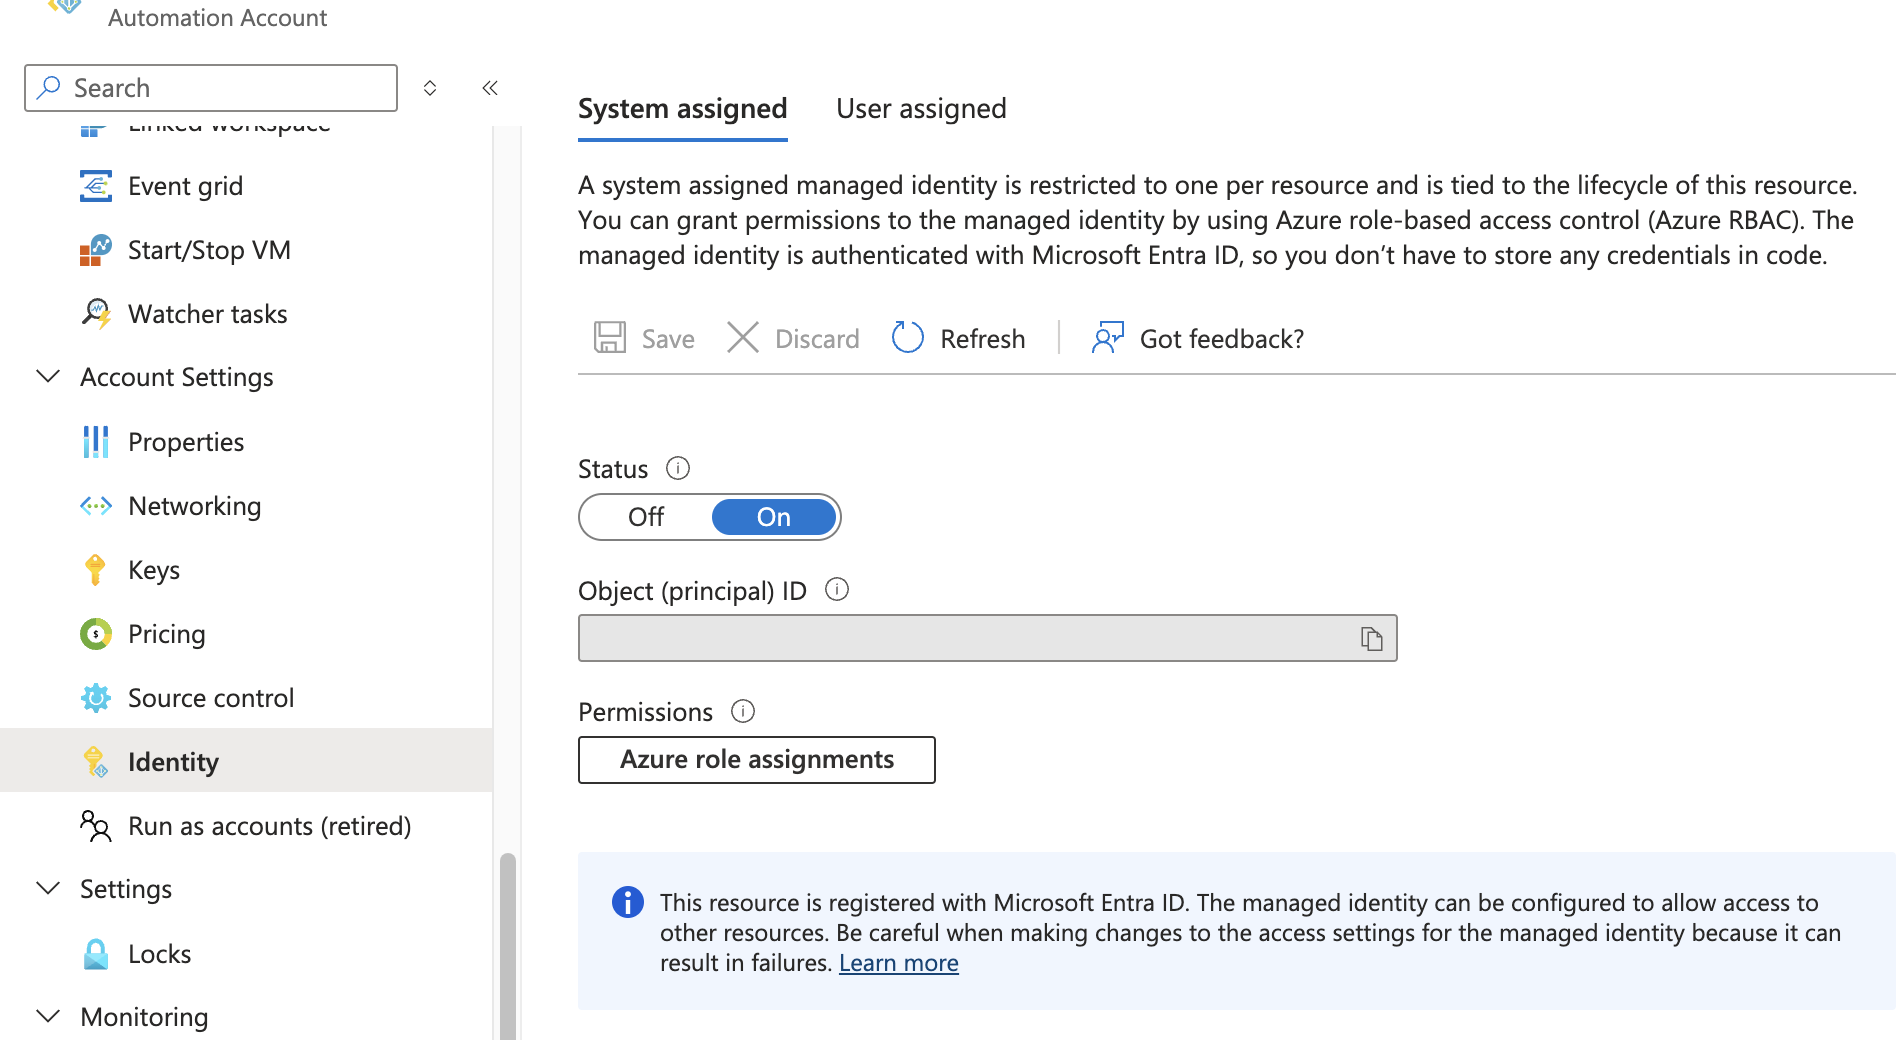
- Ensure that System Assigned Identity is enabled. This identity allows the Automation Account to execute commands on the Virtual Machine.
- Create the Runbook:
- In the Automation Account, create a new runbook and use the following PowerShell script:
1
2
3
4
5
6
7
8
9
10
11
12
13

Connect-azaccount -identity

$context = [Microsoft.Azure.Commands.Common.Authentication.Abstractions.AzureRmProfileProvider]::Instance.Profile.DefaultContext

$graphToken = [Microsoft.Azure.Commands.Common.Authentication.AzureSession]::Instance.AuthenticationFactory.Authenticate($context.Account, $context.Environment, $context.Tenant.Id.ToString(), $null, [Microsoft.Azure.Commands.Common.Authentication.ShowDialog]::Never, $null, "https://graph.microsoft.com").AccessToken
$aadToken = [Microsoft.Azure.Commands.Common.Authentication.AzureSession]::Instance.AuthenticationFactory.Authenticate($context.Account, $context.Environment, $context.Tenant.Id.ToString(), $null, [Microsoft.Azure.Commands.Common.Authentication.ShowDialog]::Never, $null, "https://graph.windows.net").AccessToken

Write-Output "Hi I'm $($context.Account.Id)"


Invoke-AzVMRunCommand -ResourceGroupName 'resourcegroup-name' -VMName 'vm-name' -CommandId 'RunShellScript' -ScriptString "systemctl restart apache2"
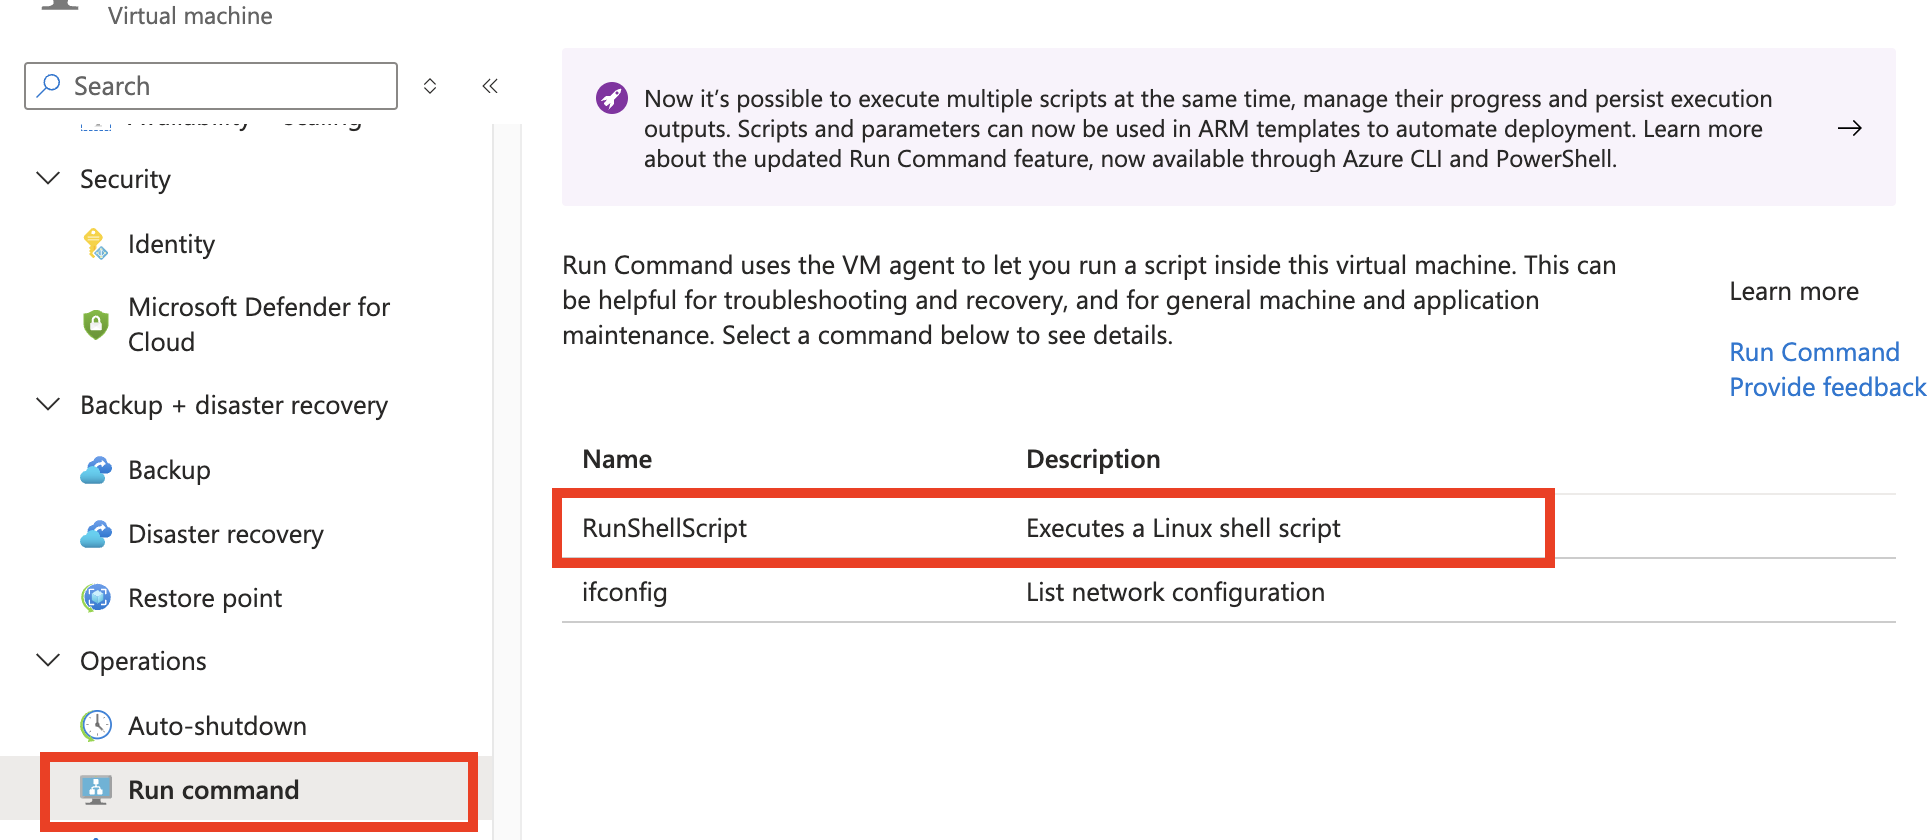
This script connects to your Azure account using managed identity, authenticates, and then executes a command to restart the Apache service on the specified VM. Ensure that the VM’s IAM permissions allow the Automation Account to run commands on the VM.
Manually, this would be equivalent to navigating to the VM, selecting Run Command under Operations, choosing RunShellScript, and executing:
1
systemctl restart apache2
Step 2: Create a Logic App 🔗
- Create a Logic App:
- In the Azure portal, create a new Logic App.
- Configure Access:
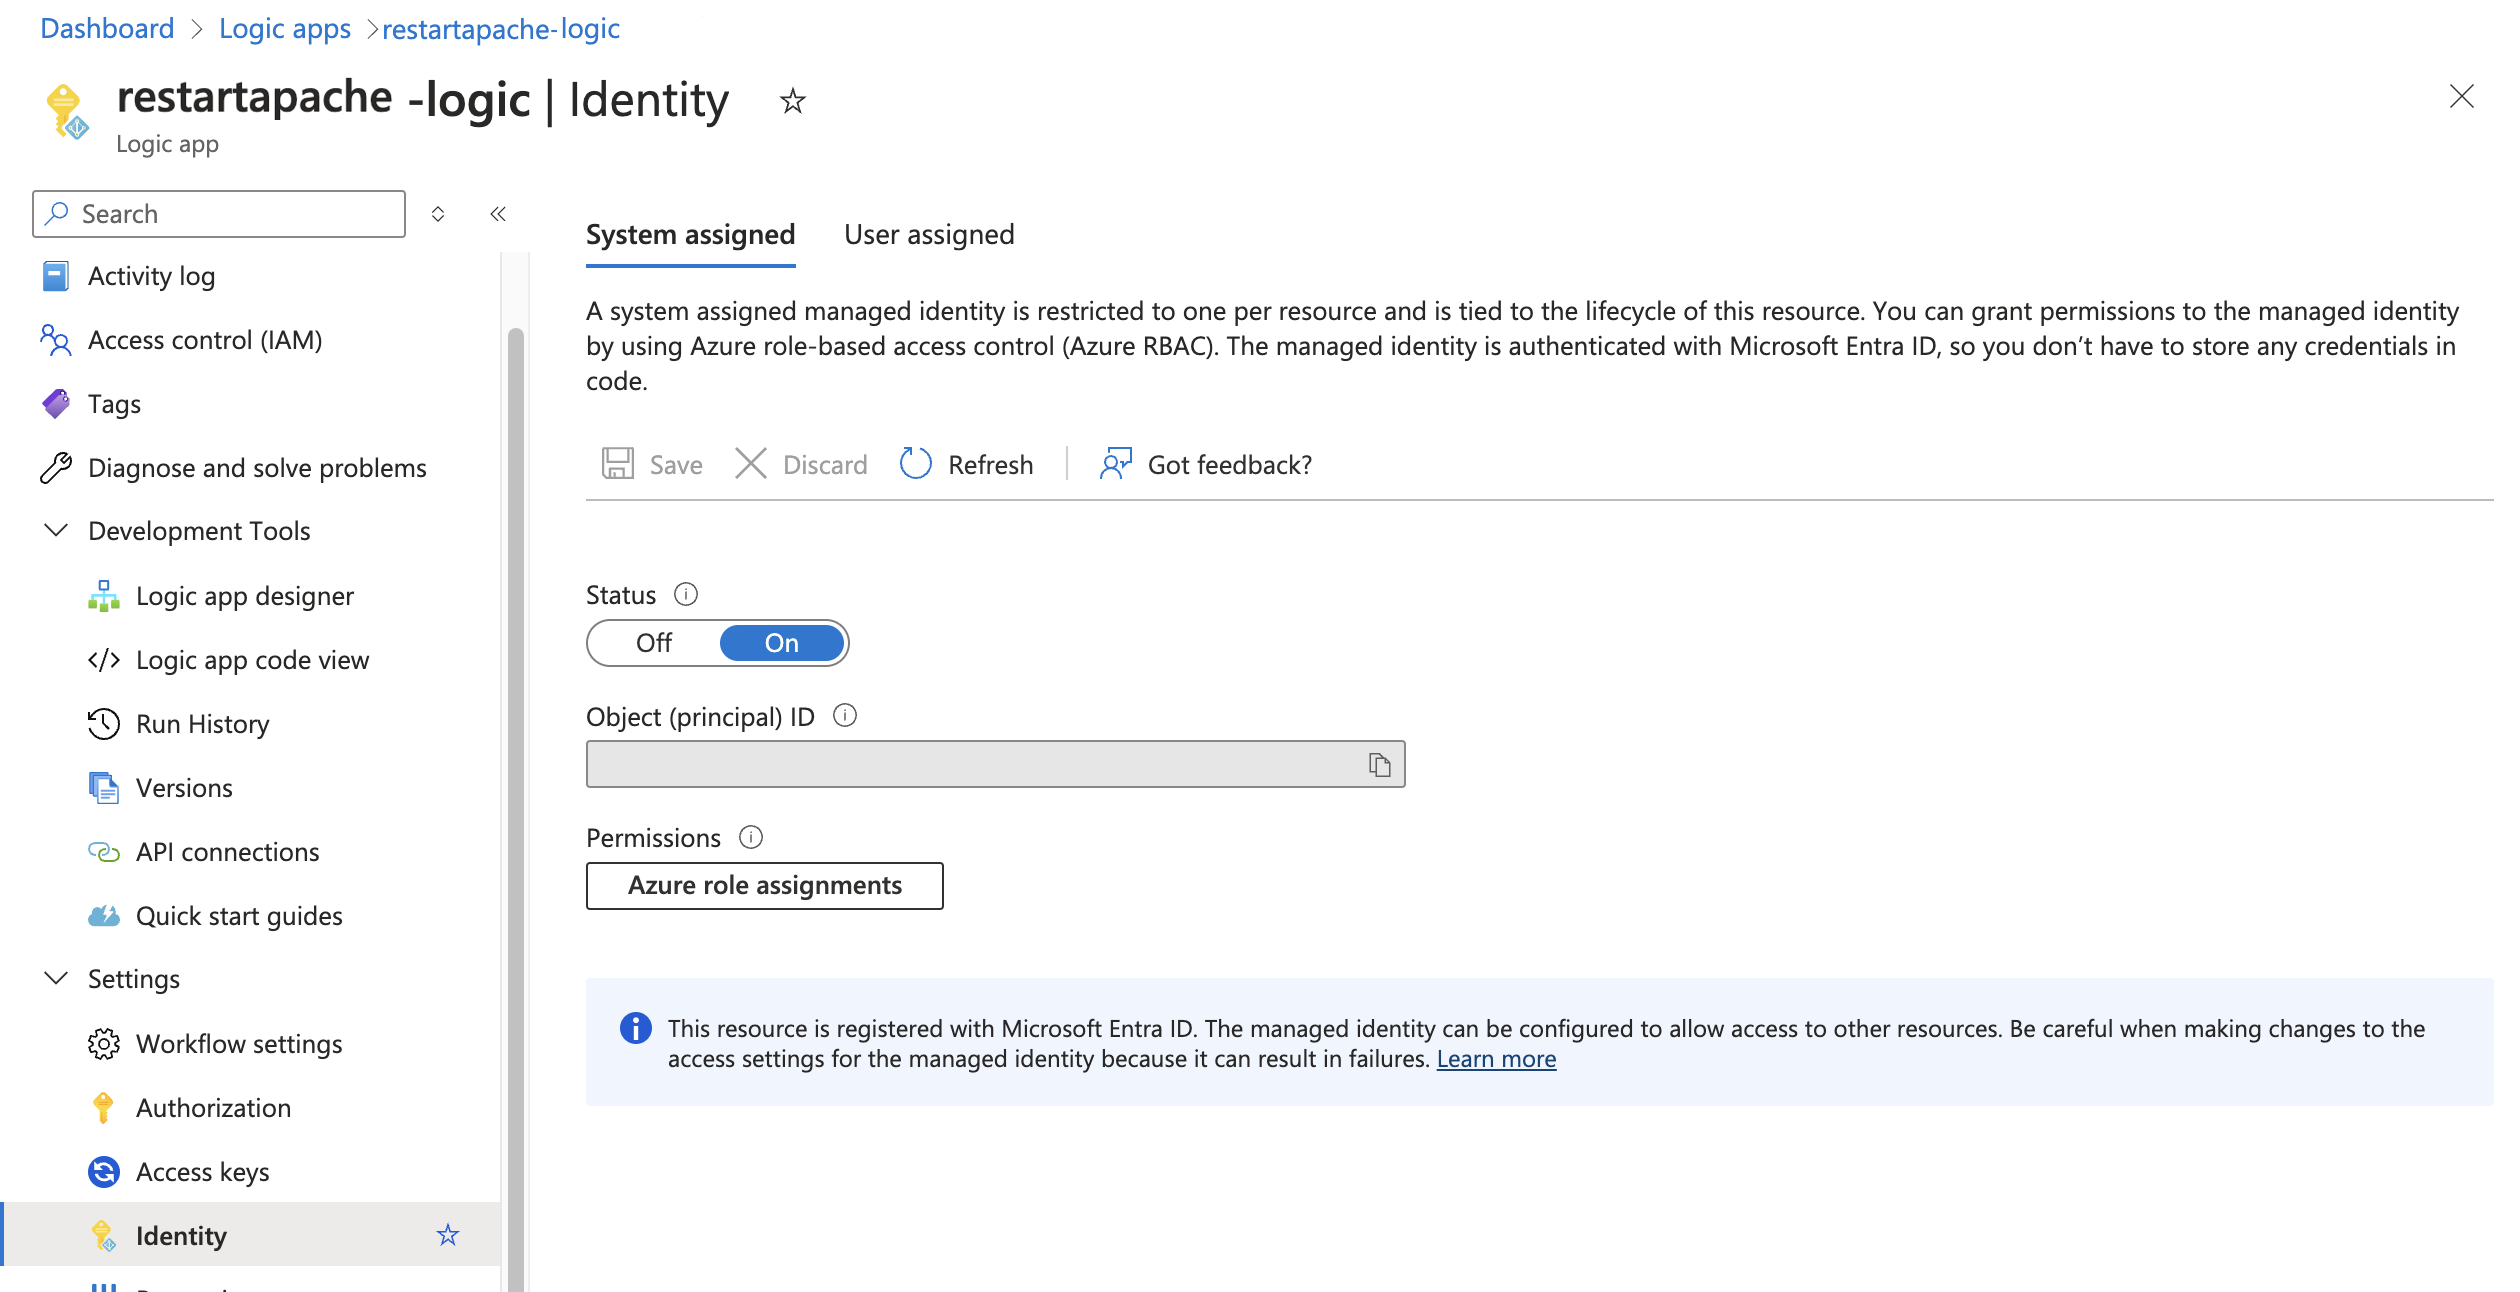
- Ensure that the Logic App’s System Assigned Identity is enabled and has the appropriate permissions on the Automation Account IAM to create and run jobs.
- Configure Logic App:
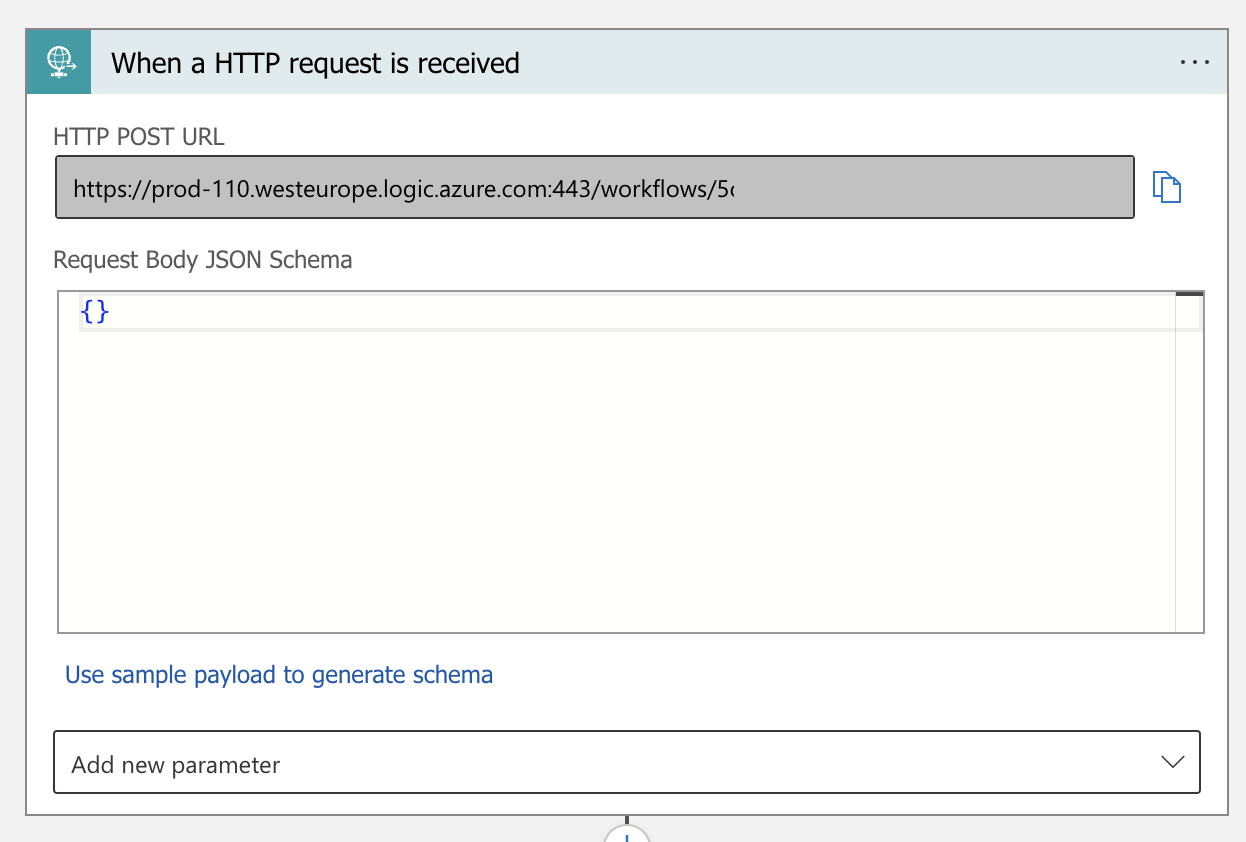
- Configure an HTTP request trigger, which provides a URL that activates the Logic App when accessed. This method is useful for responding to alerts or integrating a button in the MyApp portal. The image below shows the HTTP URL provided by the Logic App, which we will use in Step 3.
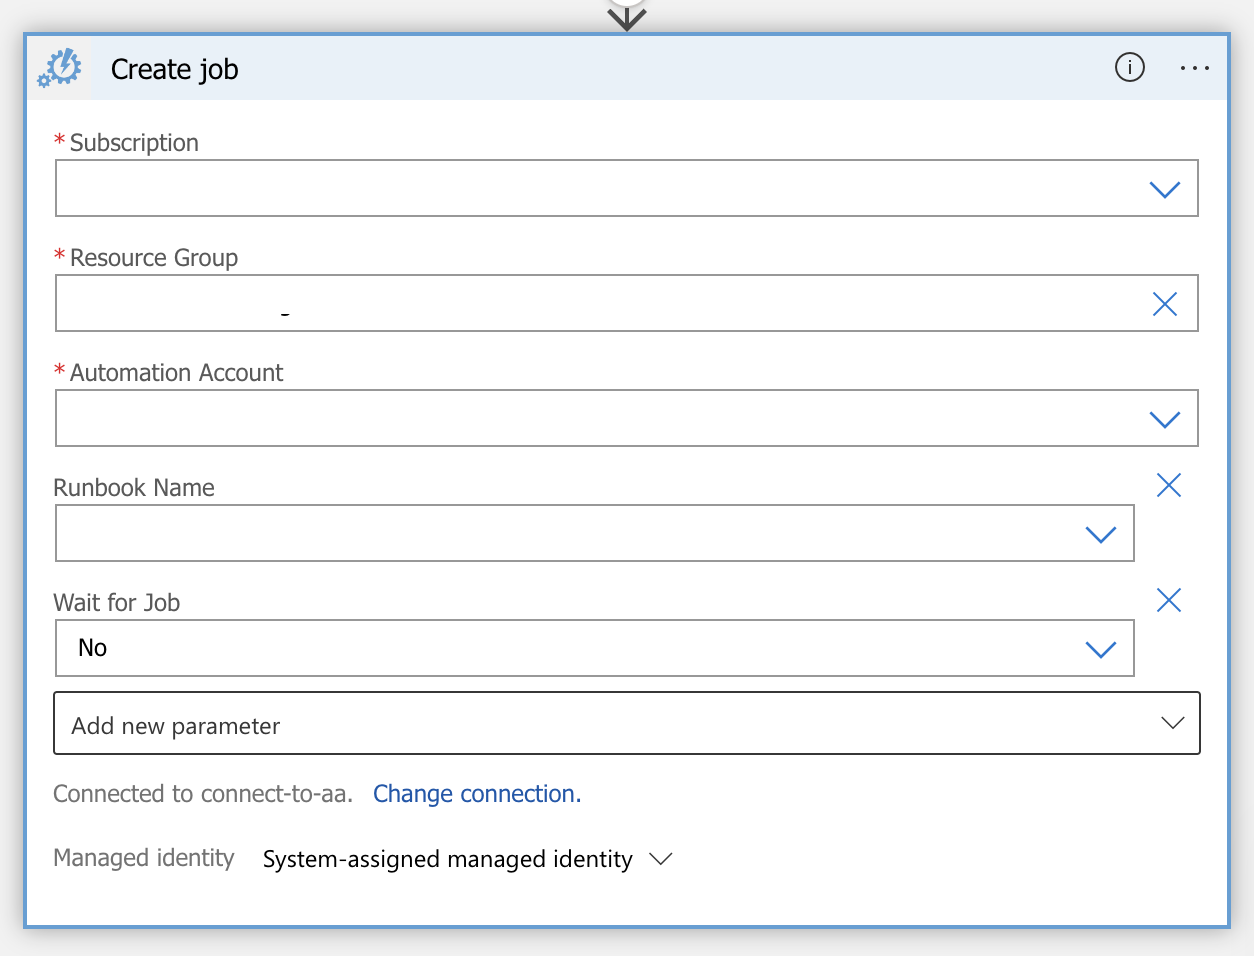
The following action is to call the automation account to create a job which esentially calls the script to execute the service restart.
To be able to call the job ensure that the logic app system managed identity is enabled and allowed access on the automation account IAM.
Fill the below action with the appropriate fields to select the correct automation account and runbook where you configured the script in the previous step.
Step 3: Create an App Registration 🖥️
- Create an App Registration:
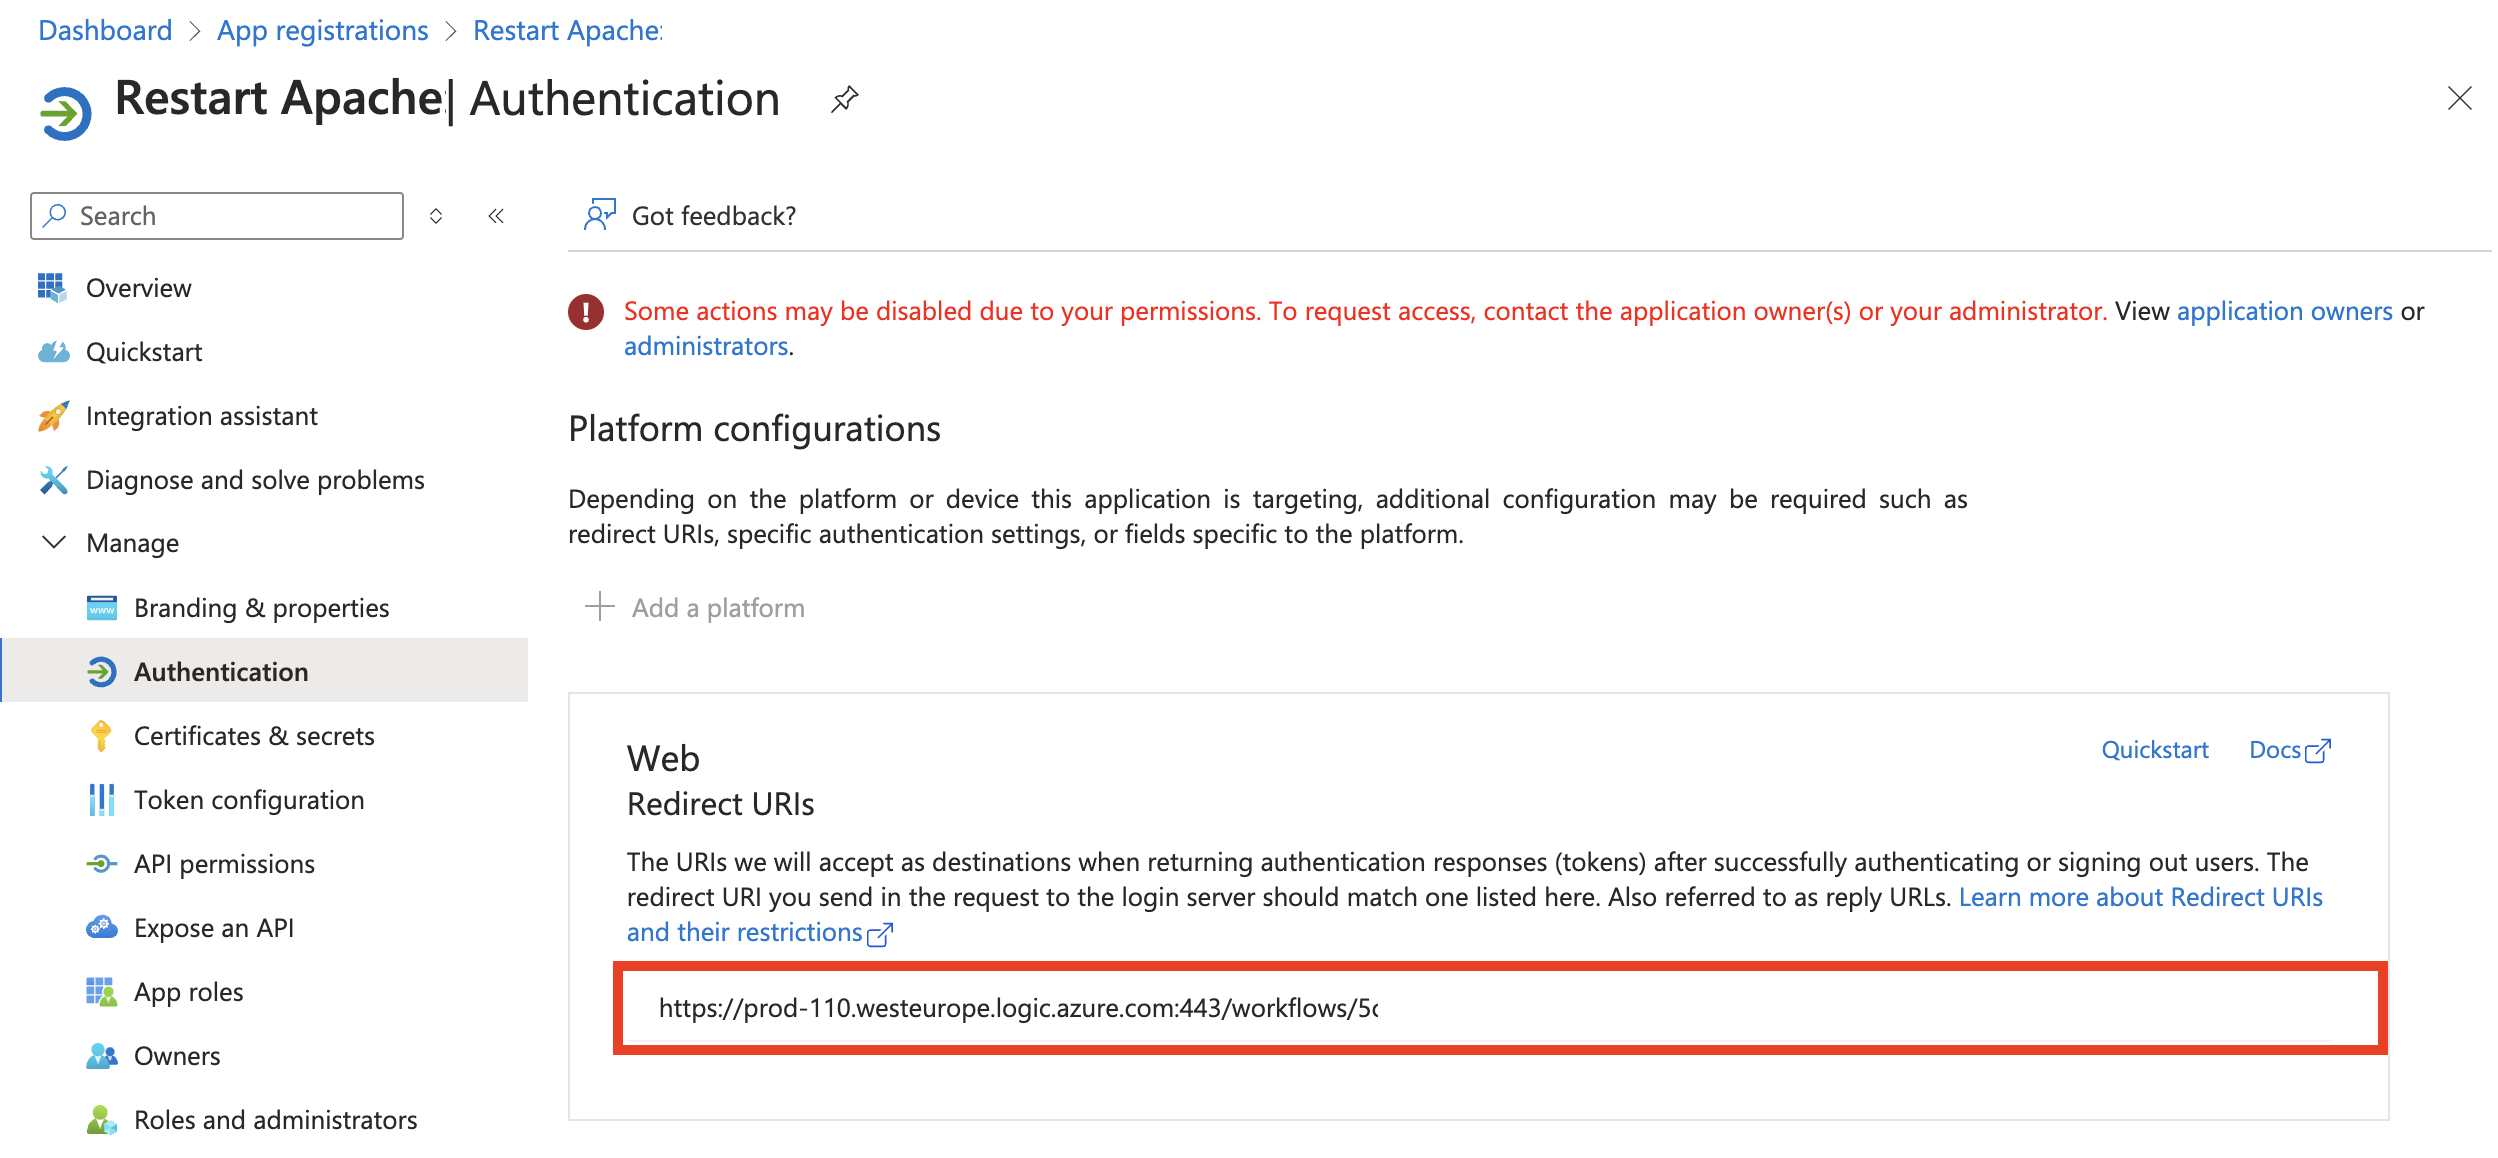
- In Entra ID (previously known as Azure Active Directory), create a new App Registration and configure a Web Redirect URI. This redirect URI is the HTTP URL provided by the Logic App and is necessary for receiving authentication responses from Azure AD.
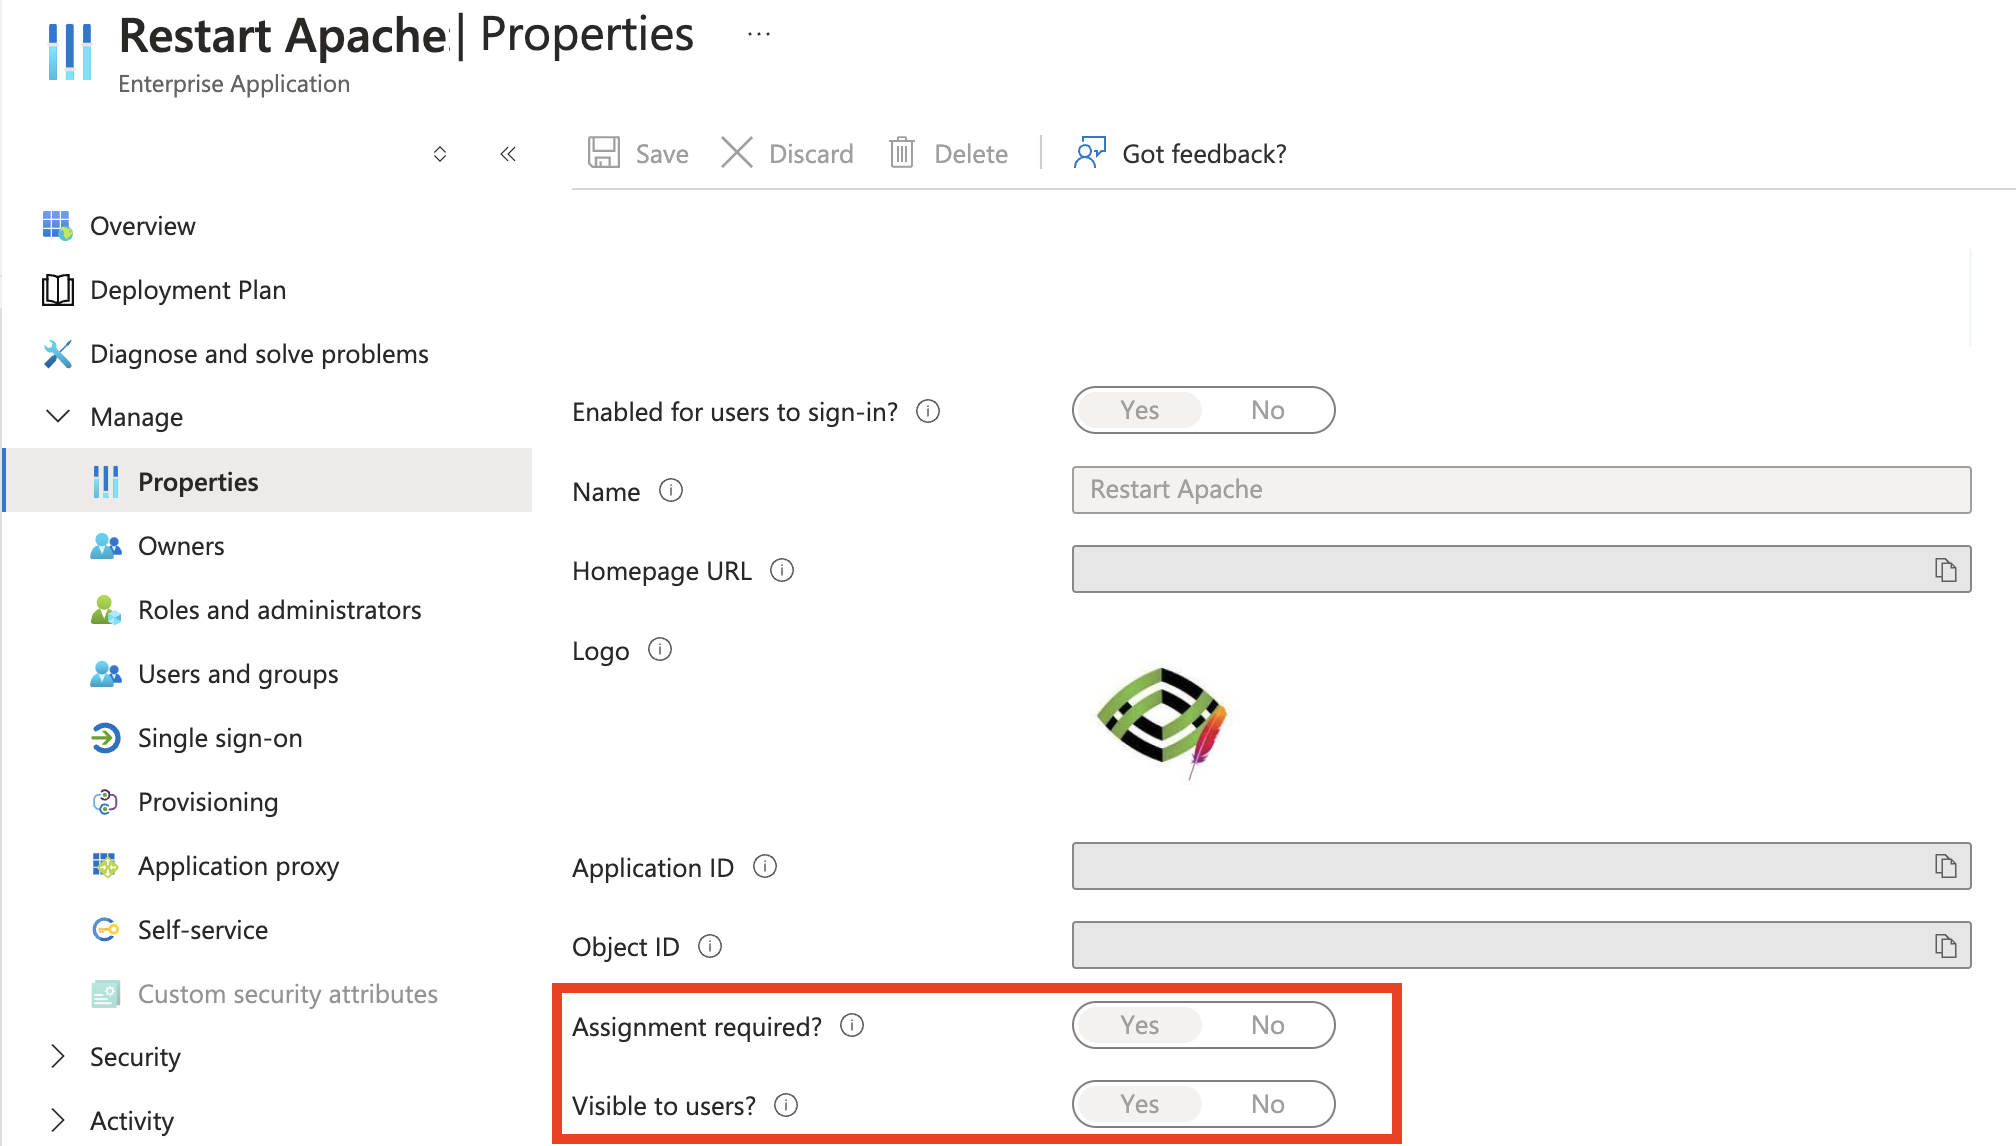
- When you create an App Registration, an enterprise application is also created automatically. This allows you to make the application visible to specific users and groups in the MyApps portal by enabling the “Visible to users” toggle and assigning the appropriate users and groups.
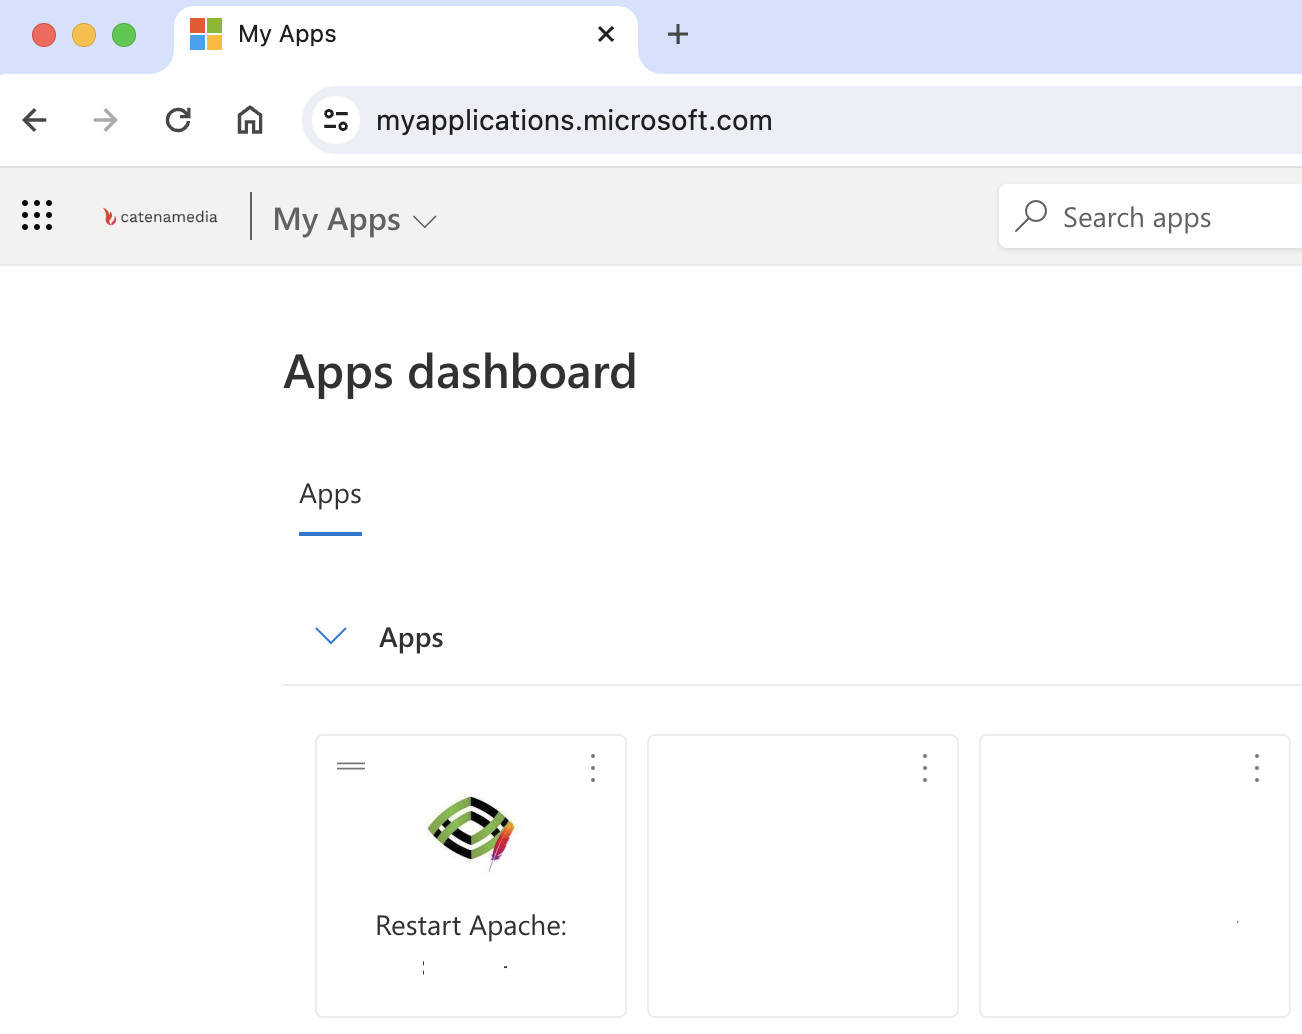
Finally if you navigate to My Apps Portal MyApps, you will see the new button. If you click the button you now restart the service.
Tips 💡
- Test Each Step: Make sure to test each step thoroughly. This helps identify and resolve issues early, making troubleshooting easier and ensuring a smoother deployment.
- Verify IAM Permissions: Confirm that all necessary IAM permissions are configured correctly. This includes permissions for the Automation Account to run commands on the VM and for the Logic App to interact with the Automation Account.
- Configure Automation Account Modules: Ensure that the Automation Account has all required modules installed and configured. This helps your scripts run smoothly and interact with Azure resources effectively.
- Check Entra ID Permissions: Ensure you have the correct permissions in Entra ID to create and manage App Registrations in Entra ID.
- Customize for Your Needs: This guide can be adapted to fit your specific requirements. For instance, you can modify the runbook to execute different scripts or tasks, such as restarting services on a Windows VM instead of Linux. Similarly, you can adjust the Logic App and App Registration settings to align with different use cases or environments. Feel free to tailor these steps to suit your needs and operational requirements.
Thank you for reading! ✨ If you have any questions, feel free to reach out to me on LinkedIn. I would be happy to help 🤗.
